Sage X3 Consultant: How do I Close Month End in Sage X3?
Sage X3 Consultant Question: How do I close month (period) end in Sage X3? One common question we get from our Sage customers is month end and year...
3 min read
Jess Mann Fri, Oct 14, 2016
While out in the field on consulting engagements, I noticed that many customers took several steps to send purchase requests, orders, receipts, or invoices to business partners or customers. I am happy to report that Sage X3 helps streamline this process and helps save time with this commonly requested and cumbersome task. You know the drill – you have to send a customer an invoice so what do you do? You print, scan, or save the invoice as a PDF then create a new email, find and add the business partner contact, find and attach the saved PDF document and finally send. These days it’s more common for clients and vendors to require electronic documents for their transactions, which make this traditional approach ineffective and inefficient. Thankfully, Sage X3 has embedded a powerful tool called Workflow that helps you do all of this in one single task and in an effective manner covering all the steps listed above.
It does take a little time to set up workflow so we wanted to share these steps with you in case you are a DIY (do-it-yourselfer). We have helped clients to set up the Workflow management in their Sage X3 and they have found this feature very useful. In this blog, I will highlight sending an email with a report attached. We will discuss the other features of Sage X3 Workflow Management in later blogs.
To be able to email automatically with reports attached through Sage X3, some prerequisites and settings are required.
Following are the 6 steps to set up and send emails to business partners with reports attached.
Step 1: Configure in Sage X3 Management Console the Print server and Web server for the concerned folder.
It may be necessary to contact your system administrator to help with this step.
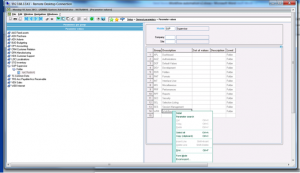
Step 2: Setting up the Workflow general parameters
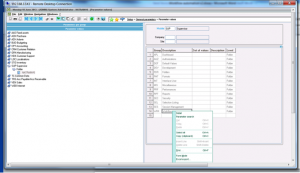
Step 3: Setting up the Workflow Rule
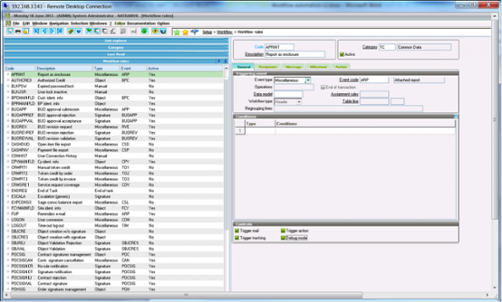
In the Message tab
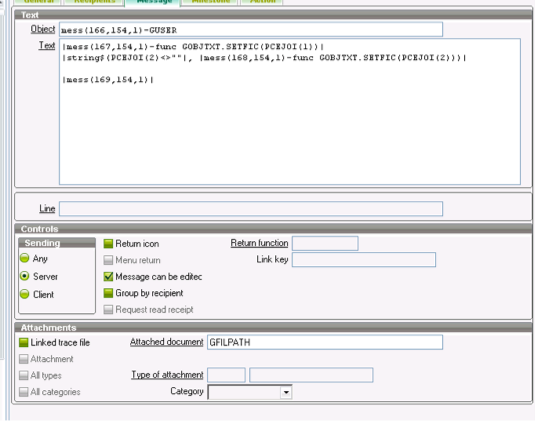
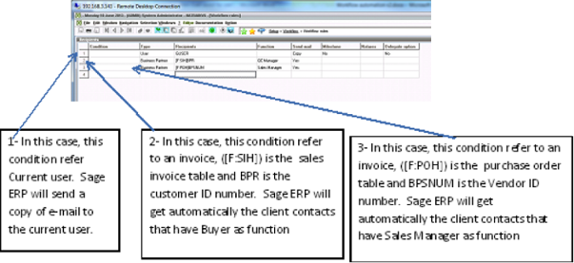
Step 4: Setting up Workflow email addresses
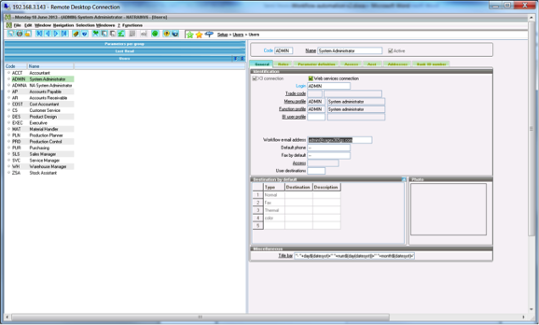
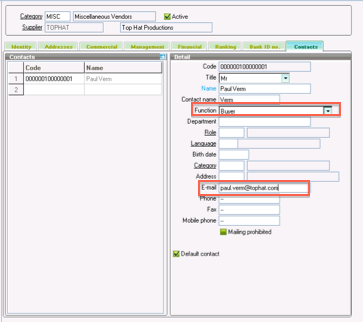
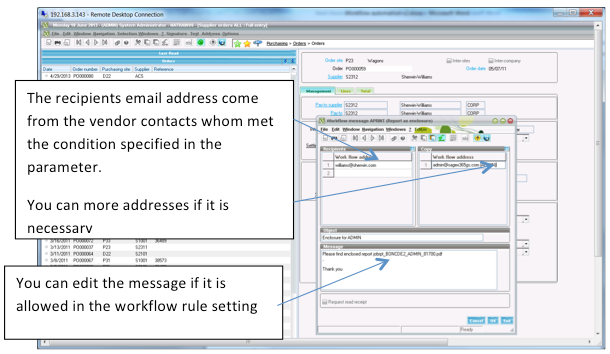
In this case, Workflow will look to the Contact records and find the “Buyer” contact, and then reference the email address defined on this contact.
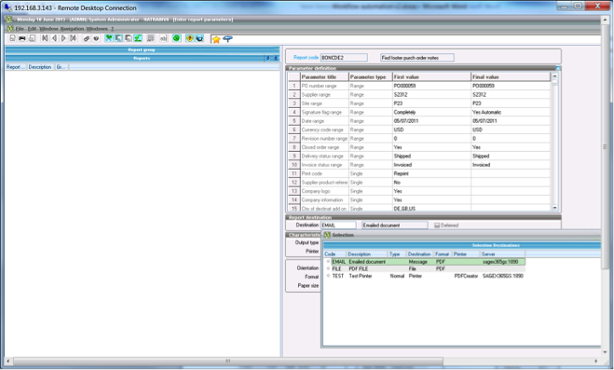
Step 5: Setting the Destination
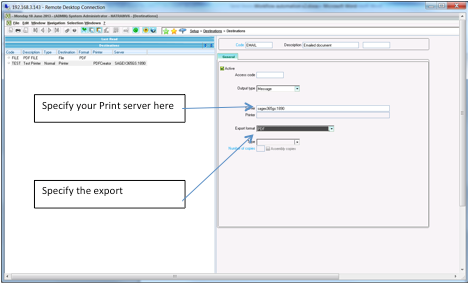
Step 6 - Now you are ready to email with attached reports.
Procedure:
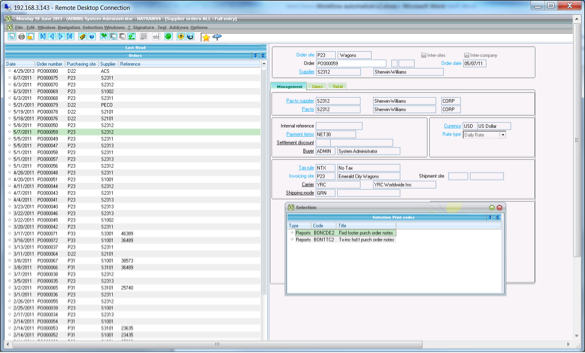
For the following case, I will send an email to my supplier with purchase order report attached
Sage X3 Workflow embeds a lot of features, which may help to make your business processes more effective and efficient. Talk to us today at Mantralogix and we would be pleased to help you optimize your Sage software capacity.
Mantralogix consultants are experts in ERP system selection and implementation. We can guide small to midsize businesses through requirements definition, selection, and implementation of the software solution that’s right for your particular needs. Leverage Mantralogix’ experience to provide true business value and a competitive advantage. We provide services for an extensive variety of businesses in many industries. Training and on-going support provide long-term value to our customers now and in the future.
Find out how the Mantralogix Advantage can be your competitive advantage. For us it’s personal, not just business.
As a trusted technology partner, Mantralogix delivers enterprise software solutions to both Canadian and U.S. businesses. We are happy to receive your inquires for any types of services which you are looking for and will focus on ensuring your requirements are met. Please call us at 1-866-320-8922 or email us.
Mantralogix specializes in the implementation, support, and training of world-class ERP solutions from Sage, including Sage MAS 500, Sage 300 (formerly Accpac), and Sage X3, Sage PFW, and Sage BusinessVision Accounting (BV). We also help with CRM, HRMS, custom development, hardware, and IT consulting and outsourcing. Mantralogix has in-house expertise in designing, developing and implementing solutions for financial, manufacturing and distribution verticals. Contact us today at 866-320-8922 or visit www.mantralogix.com
This blog was previously posted on Mantralogix Blog on June 18, 2013 – Configuring Sage ERP X3 to Email Reports

Sage X3 Consultant Question: How do I close month (period) end in Sage X3? One common question we get from our Sage customers is month end and year...
Sage X3 Consultant Question: Action Field Options I was working in the development tools in Sage X3 and I’ve been asked to update certain fields...

1 min read
Sage X3 Consultant Question: How do I set up purchase recommendations to optimize inventory levels in Sage X3? Over the years, we find many companies...